
Before painting a single wall or ordering furniture, most successful room makeovers start with a vision board. This planning tool bridges the gap between Pinterest daydreams and actual renovation decisions, helping homeowners clarify style preferences, spot color clashes before they happen, and communicate effectively with contractors or painters. Whether tackling a kitchen remodel or just refreshing a bedroom, a well-built vision board functions like a blueprint for design choices, keeping projects on track and preventing expensive mid-project pivots.
Key Takeaways
- An interior design vision board bridges the gap between inspiration and actionable decisions, preventing costly mid-project changes and ensuring all contractors, painters, and electricians work toward the same visual outcome.
- A complete vision board must include both emotional mood references and physical material samples—actual paint chips, fabric swatches, tile samples, and finish examples trump digital photos for accurate color and texture assessment.
- The most effective vision boards follow the 60-30-10 color rule with one anchor piece, 15-20 inspiration images, and are ruthlessly edited to eliminate elements that don’t reinforce the core aesthetic direction.
- A hybrid approach combining digital tools like Canva or Pinterest with physical foam core boards allows homeowners to test layouts, materials, and lighting interactions in the actual room before making expensive purchases.
- Using your vision board as a shopping filter and priority guide—locking in permanent elements first and delaying flexible purchases like furniture—prevents impulse buys that derail cohesive design.
- Step away from your vision board for 48 hours and review with fresh eyes to identify outliers disrupting visual flow before committing to expensive renovation decisions.
What Is an Interior Design Vision Board and Why You Need One
An interior design vision board is a curated collection of images, color samples, material swatches, and inspirational elements that define the aesthetic direction for a space. Unlike random idea collections, a functional vision board establishes visual consistency across furniture styles, finish selections, and architectural details.
The practical value goes beyond inspiration. Vision boards help homeowners identify their actual preferences versus passing trends. Someone might think they want farmhouse style until they assemble a board and realize the shiplap and barn doors feel forced next to their mid-century furniture. This early reality check saves money and regret.
For projects involving contractors, electricians, or painters, vision boards provide concrete visual references. Telling a tile installer “I want something modern” leaves too much room for interpretation. Showing them a board with specific subway tile layouts, grout colors, and fixture finishes ensures everyone works toward the same outcome.
Vision boards also expose gaps in planning. If a board focuses heavily on wall colors and textiles but includes zero lighting fixtures or hardware, that signals an area needing more research before breaking ground. The process forces comprehensive thinking about all elements that create a cohesive room.
Essential Elements to Include in Your Vision Board
A complete vision board captures both the emotional feel of a space and the physical components needed to build it. Missing either side creates problems, gorgeous inspiration photos mean nothing without actionable material choices.
Color Palettes and Mood
Start with a three-to-five color palette that includes wall colors, accent tones, and neutrals. Actual paint chips beat digital samples because screens distort color temperature. Grab several chips in similar shades and view them in the actual room at different times of day, north-facing rooms skew cooler, while southern exposure intensifies warm tones.
Include images that capture the intended mood beyond just color. A coastal bedroom needs more than blue walls: the vision board should show whether that means crisp navy-and-white stripes or soft, weathered aqua with natural textures. Lighting quality matters here too, include reference images showing daylight versus evening ambiance to guide window treatment and fixture choices.
Don’t forget undertones. Beige sounds simple until someone realizes their “warm beige” paint clashes with cool gray flooring. Placing finish samples and paint chips directly on the board reveals these conflicts before they’re on the wall.
Textures, Materials, and Finishes
Physical samples trump photos for materials. Attach actual fabric swatches, tile samples, wood stain test pieces, and hardware finishes to the board whenever possible. A brushed nickel faucet photograph doesn’t show how it’ll look next to oil-rubbed bronze cabinet pulls.
For flooring, include samples large enough to see grain patterns and color variation, a 2×2-inch chip of engineered hardwood doesn’t represent how random-length planks will read across a room. If considering luxury vinyl plank (LVP), get samples showing the embossing texture, which affects how realistic the wood look appears.
Layer different material types to test visual weight. Pair rough textures like jute rugs or reclaimed wood with smooth elements like polished marble or glass tile. Too much texture creates chaos: too little feels sterile. The board lets designers balance these elements visually before committing to purchases.
Include finish sheens for paint, flat, eggshell, satin, semi-gloss, because sheen level dramatically changes color appearance and durability. High-traffic areas need at least satin for cleanability, but flat hides wall imperfections better in low-traffic spaces like dining rooms.
Best Tools and Platforms for Creating Your Vision Board
The right platform depends on whether the project needs portability, collaboration features, or physical samples.
Digital tools offer convenience and easy editing. Pinterest remains popular for collecting images, but its strength, endless inspiration, becomes a weakness without disciplined curation. Create a private board specifically for one room and limit pins to 20-30 images maximum. More than that, and patterns get lost in clutter.
Canva provides more structured layouts with the ability to arrange images, add color palettes, and insert notes directly on the board. Its collaboration features work well when sharing ideas with a spouse or designer. The free version handles most residential projects: the pro version adds features like brand kit color matching, useful for maintaining consistency across multiple rooms.
Morpholio Board caters specifically to interior design with tools for scaling furniture layouts and testing wall colors digitally. The learning curve runs steeper than Pinterest, but the payoff comes in precision, users can import actual room dimensions and see how a sofa’s footprint affects traffic flow.
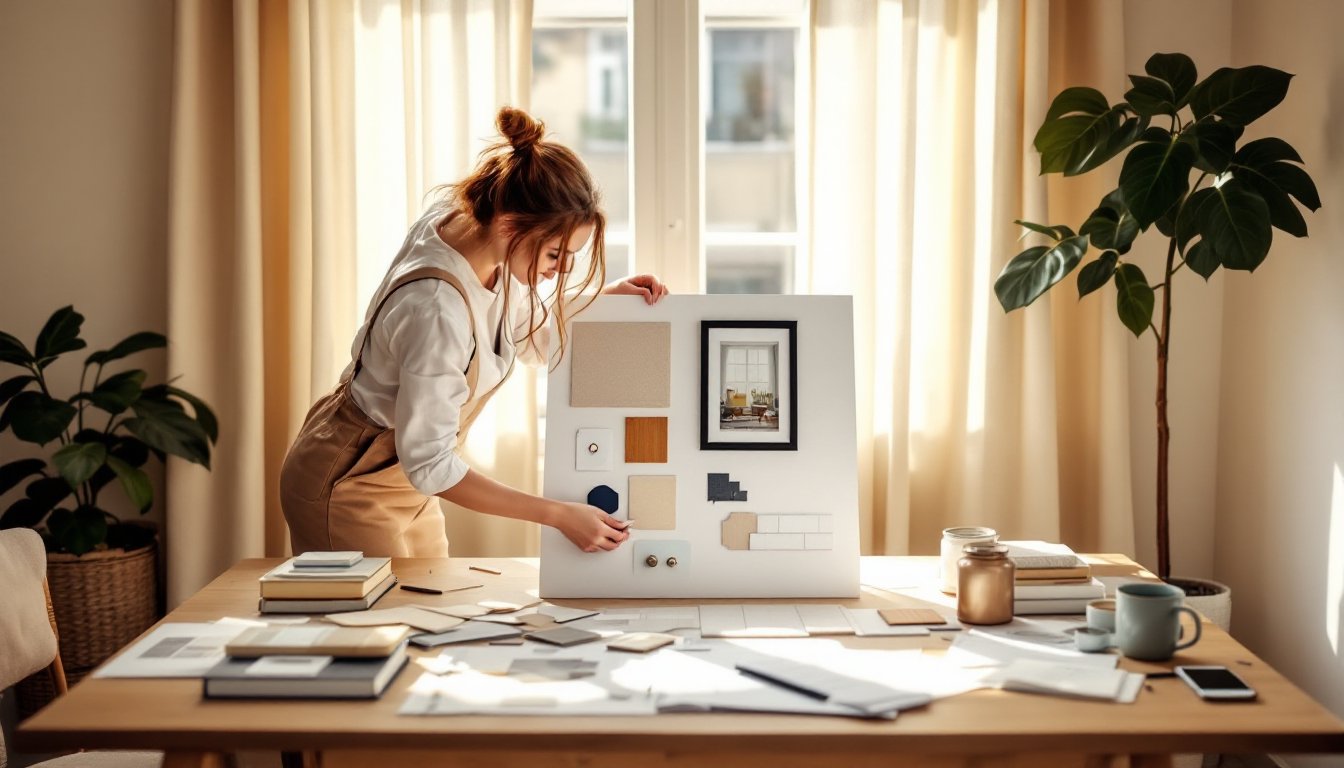
Physical boards still offer advantages digital can’t match. A foam core board (20×30 inches works well) lets homeowners pin actual material samples, paint chips, and fabric swatches. Hold it up in the room at different angles and lighting conditions to see how elements interact in the actual environment. This tactile approach helps visual learners and provides a permanent reference point during installation.
Hybrid approaches combine both methods. Build a digital board for layout inspiration and spatial planning, then create a physical sample board with actual finishes for in-room testing. Many paint stores and tile shops provide small samples inexpensively, sample paint jars typically cost $3-5 and cover enough area to test on a wall section.
Step-by-Step Process to Build a Cohesive Design Vision
Creating a functional vision board requires methodical layering, not random pinning.
-
Define the room’s primary function. A home office needs task lighting and focused work zones: a family room prioritizes durable finishes and flexible seating. Function dictates form.
-
Identify one anchor piece. This might be existing furniture that’s staying, a rug, or a standout tile choice. Build the rest of the palette around this fixed element to ensure cohesion.
-
Gather 15-20 inspiration images that capture the overall style. Look for repeated elements, if every saved image includes black window frames, that’s a clear directional signal.
-
Extract a color palette from those images. Most successful schemes follow the 60-30-10 rule: 60% dominant color (usually walls), 30% secondary color (upholstery, curtains), 10% accent (pillows, art).
-
Collect material samples for floors, walls, and major surfaces. Arrange them on the board in approximate proportion to how they’ll appear in the room, large flooring samples at the bottom, wall colors in the middle, smaller accent materials at top.
-
Add specific product examples. Instead of generic “modern pendant light,” pin the actual fixture being considered, with dimensions and finish noted. This specificity prevents vague boards that don’t translate to purchases.
-
Test scale and proportion. If every furniture piece on the board looks massive and the room is 10×12 feet, that signals a sizing problem. Include room dimensions somewhere visible on the board.
-
Eliminate ruthlessly. Remove anything that doesn’t reinforce the core aesthetic. That one bohemian rug might be beautiful, but if everything else reads minimalist Scandinavian, it doesn’t belong.
-
Step away for 48 hours, then revisit with fresh eyes. Elements that felt exciting initially might reveal themselves as outliers disrupting visual flow.
How to Use Your Vision Board to Guide Your Design Decisions
A finished vision board only adds value if it actively informs decisions throughout the project.
Use it as a shopping filter. When tempted by a sale or trending item, compare it against the board. If it doesn’t match the established palette and style, it’s a pass regardless of price. This discipline prevents the “good deal” purchases that derail cohesive design.
Share the board with all vendors and contractors at project kickoff. Email digital versions or photograph the physical board. When the electrician asks about fixture finishes or the painter needs sheen levels, they can reference the board rather than calling with questions that delay progress.
Sequence purchases using the board as a priority guide. Permanent elements, flooring, tile, cabinetry, get locked in first since they’re expensive to change. Wall colors come next, selected to complement those fixed materials. Furniture and accessories, the most flexible elements, come last and get chosen to tie everything together.
The board also prevents scope creep. When new ideas pop up mid-project (and they will), test them against the established vision. If someone suddenly wants to add shiplap to a room designed around smooth, contemporary surfaces, the board provides visual evidence that the addition conflicts with the overall direction.
For projects stretching across months, the board maintains consistency when memory fades. The blue that seemed perfect in January might feel uncertain by March. The board preserves that initial vision and reasoning.
After project completion, keep the board as a reference for future rooms. If the living room turned out well, its vision board provides a color and style foundation for adjacent spaces, helping create flow throughout the home without starting research from scratch each time.