
Anyone who sews, quilts, or crafts with fabric knows the struggle: bins overflowing with remnants, cuts tangled into mystery balls, and that perfect piece buried somewhere under last year’s impulse buys. Poor fabric storage doesn’t just create visual chaos, it wastes money, ruins materials, and turns every project into an archaeological dig. Organizing a textile stash takes more than tossing everything into plastic tubs. Different fabrics need different conditions, and the right system makes the difference between a well-maintained collection and a pile of faded, wrinkled disappointments. This guide covers practical storage solutions that protect fabric investments and keep everything accessible.
Key Takeaways
- Proper fabric storage solutions protect materials from UV fading, moisture damage, and pest infestations like carpet beetles and clothes moths, which can destroy an entire collection if left unchecked.
- Different fabric types require specific storage methods: cotton works in clear plastic bins, delicate fabrics like silk should be rolled in acid-free tissue, and wool needs sealed storage with cedar blocks to prevent moth damage.
- Organizing fabrics by color, type, project, or size with clear labeling saves crafting time and prevents accidentally using pieces earmarked for specific projects.
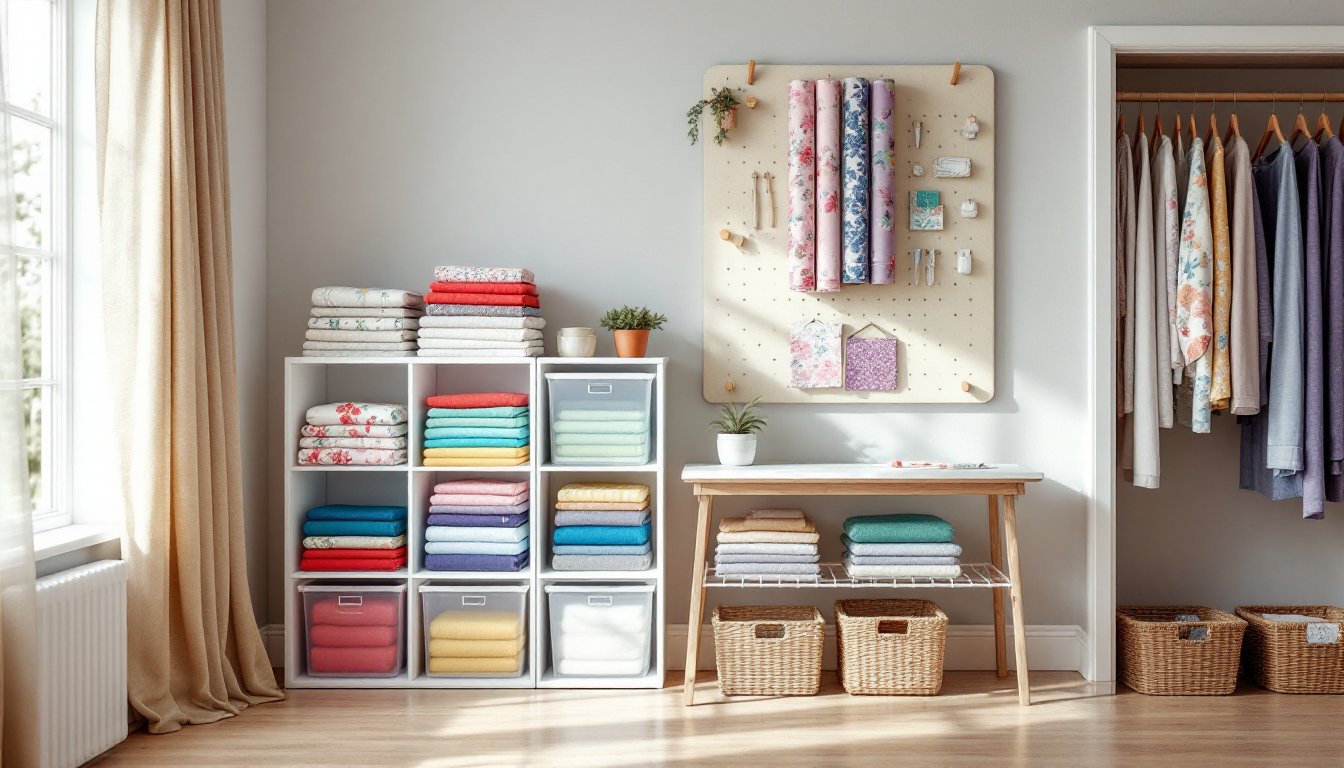
- Space-efficient fabric storage solutions like cube units, pegboard walls, under-bed bins, and closet tension rods maximize vertical space in limited square footage without creating clutter.
- Avoid standard cardboard boxes, direct sunlight, plastic dry-cleaning bags, and mothballs when storing fabric—instead use acid-free materials, breathable containers, and natural pest deterrents.
- Rolling fabrics on cardboard tubes or pool noodles instead of folding prevents permanent creases and allows easy access without disturbing entire stacks.
Why Proper Fabric Storage Matters for Sewers and Crafters
Fabric degrades faster than most crafters realize. UV exposure fades colors within months, especially on natural fibers like cotton and linen. Direct sunlight through a window can bleach an entire bolt in a single summer. Even indirect light causes gradual color shifts that become obvious when comparing stored fabric to freshly cut pieces from the same run.
Moisture and humidity create bigger problems. Cotton, rayon, and other cellulose fibers absorb ambient moisture, leading to mildew, musty odors, and permanent staining. Basements and garages, common storage spots, often have humidity swings that promote mold growth. Synthetic fabrics handle moisture better but still suffer from dust accumulation and creasing.
Dust and pests target fabric stashes. Carpet beetles, clothes moths, and silverfish all feed on natural fibers, with wool, silk, and cotton topping their menu. A single moth can lay 40-200 eggs in fabric folds, and the larvae leave holes and damage that can’t be repaired. Dust doesn’t just dirty fabric, it contains abrasive particles that wear down fibers over time, especially when stacked under pressure.
Proper storage also saves time. Crafters who organize by color, type, or project can grab what they need in seconds instead of unfolding entire stacks. Rolling or folding fabrics correctly prevents permanent creases that show up in finished projects, eliminating the need for intensive steaming or ironing before cutting.
Best Storage Options for Different Fabric Types
Not all fabrics tolerate the same storage methods. Material composition, weight, and finish determine the best approach.
Cotton and Quilting Fabrics
Cotton is the workhorse of most fabric stashes and tolerates a range of storage methods. The key is keeping it clean, dry, and out of direct light. Clear plastic bins with snap lids work well for protecting cotton from dust and pests while allowing visual inventory. Look for bins made from polypropylene (marked with recycling code 5), which doesn’t off-gas or yellow over time like cheaper plastics.
For quilters with large collections, comic book boards or acid-free cardboard wrapped around yardage prevents creasing and allows upright storage in bins or on shelves. Each bolt can stand on edge like a file, making it easy to flip through options without disturbing the whole stack. Avoid storing cotton in cardboard boxes long-term, standard cardboard contains acids that transfer to fabric and cause yellowing.
Prewashed quilting cotton can be folded and stacked, but pieces longer than one yard should be rolled around cardboard tubes to prevent fold lines. Pool noodles (cut to width) also work as inexpensive rolling cores and won’t leave rust marks like some metal tubes.
Delicate and Specialty Materials
Silk, rayon, and delicate synthetics require gentler handling. These fabrics wrinkle easily and can develop permanent creases from sharp folds. Rolled storage on fabric bolts or wide cardboard tubes keeps them smooth. Wrap each piece in acid-free tissue paper before rolling to prevent color transfer between fabrics and add a protective barrier.
Wool and wool blends need protection from moths and carpet beetles. Store in sealed bins with cedar blocks or lavender sachets, both natural deterrents. Avoid mothballs: the odor is hard to remove and the chemicals (naphthalene or paradichlorobenzene) can damage some synthetic fibers. Wool should never be stored in humid spaces. If a basement is the only option, add silica gel packets (the kind used in shoe boxes) to absorb excess moisture.
Velvet, corduroy, and pile fabrics crush under pressure. Store these flat or hanging to maintain their texture. Garment bags work well for larger cuts, but avoid plastic dry-cleaning bags, they trap moisture. Use breathable cotton garment bags instead.
Interfacing and stabilizers often get forgotten in the back of closets. Store these flat in labeled folders or binders. Fusible interfacing can stick to itself in heat, so keep it in a climate-controlled area, not a hot attic.
Space-Saving Fabric Organization Systems
Crafters working with limited square footage need vertical and modular systems that maximize storage density without creating a disorganized pile.
Cube storage units (the kind with square openings for fabric bins) offer flexibility. Each cube can hold a bin sorted by color, type, or project. Bins pull out like drawers, eliminating the need to unstack everything to reach the bottom. Look for units that mount to walls for stability, freestanding towers can tip if loaded unevenly.
Pegboard walls with fabric bolts hung on dowels provide visual inventory and easy access. Cut wooden dowels to 12-18 inches, mount them horizontally on pegboard hooks, and slide rolled fabric onto them. This works best for cuts of 1-2 yards. Longer pieces get heavy and can bow the dowels. Pegboard also accommodates baskets for scraps and small notions.
Under-bed storage reclaims dead space. Shallow bins (6-8 inches tall) slide under most bed frames and protect fabric from dust. This works well for seasonal or special-occasion fabrics that don’t get accessed frequently. Label the short ends of bins so contents are visible without pulling them all the way out.
Closet door racks with clear shoe pockets store fat quarters, trim, and small cuts. Each pocket holds one piece, keeping everything visible. This system won’t work for heavy upholstery fabric but handles quilting cotton and lightweight materials easily.
Tension rods installed inside closets create hanging storage for larger yardage. Drape fabric over rods (like towels) to prevent creasing. Use multiple rods at different heights to double or triple capacity in a standard closet depth.
For crafters with dedicated workspaces, wire shelving (the adjustable kind used in pantries) offers customizable storage. Add shelf dividers to separate stacks, and line shelves with adhesive cork sheets to keep folded fabric from sliding around.
How to Organize Your Fabric Stash by Category
Once storage containers are in place, the next step is sorting. The best organization method depends on how someone shops and sews.
Sorting by color works well for quilters and anyone who designs projects around a palette. Group fabrics into color families (reds, blues, neutrals, etc.), then subdivide by shade if the collection is large. This method makes it easy to pull coordinating fabrics for a project but can hide forgotten pieces in less-used color groups.
Sorting by fabric type suits garment sewers. Keep knits separate from wovens, and subdivide further by weight (lightweight cotton lawn, medium-weight denim, heavyweight canvas). This prevents the frustration of finding the perfect color only to realize it’s the wrong weight for the pattern.
Sorting by project keeps fabrics earmarked for specific makes in dedicated bins. Label each bin with the project name and pattern number. This prevents accidentally cutting into yardage meant for something else and keeps all coordinating pieces together.
Sorting by size helps manage scraps and remnants. Establish categories: yardage (2+ yards), cuts (½ yard to 2 yards), fat quarters, and scraps (under ¼ yard). Store scraps in clear jars or bins subdivided by color. This makes it easy to grab coordinating bits for appliqué, binding, or small piecing projects without digging through larger cuts.
Many crafters use a hybrid system, sorting by type first (knit vs. woven), then by color or project within each category. Whatever system is chosen, consistency matters more than the specific method. Label everything clearly with masking tape and permanent marker or a label maker. Include fabric content and yardage if known, it saves time when pattern shopping.
Conclusion
Good fabric storage isn’t about Pinterest-perfect displays, it’s about protecting materials, saving time, and actually using what’s on hand. A well-organized stash prevents damage from light, moisture, and pests while making every piece easy to locate. Whether working with a closet shelf or a full craft room, the right combination of bins, shelves, and sorting systems keeps fabrics ready for the next project instead of buried in chaos.